How to apply product labels: A 5 step guide for perfect adhesion
Guides
Applying a label to a product can be a tricky process and more preparation is often required than just “peeling and sticking it on”. The label’s manufacture and materials are crucial to ensure durability, however application of the label to the product surface itself is equally important to maximise the longevity and use of the label.
To achieve an improved chance of getting the performance you would expect from your product label adhesive, the following steps are recommended.
- Prepare a clean lint or similar cloth and wipe the product with an IPA solution or IPA wipes. This will degrease the product surface and also remove any residual oil and dust. IPA evaporates quickly and generally leaves no markings on the surface, however we recommend that you make sure that the product surface is OK to have IPA used on it beforehand – refer to the product user manual if you are unsure.
- Locate a flat area on the product surface which you have just cleaned – this will offer the best chance for the label to adhere. Choosing a flat area will also allow the adhesive a longer period and better chance of bonding into any hairline cracks, lines or imperfections within the material. The sooner the adhesive touches the surface the quicker bonding commences.
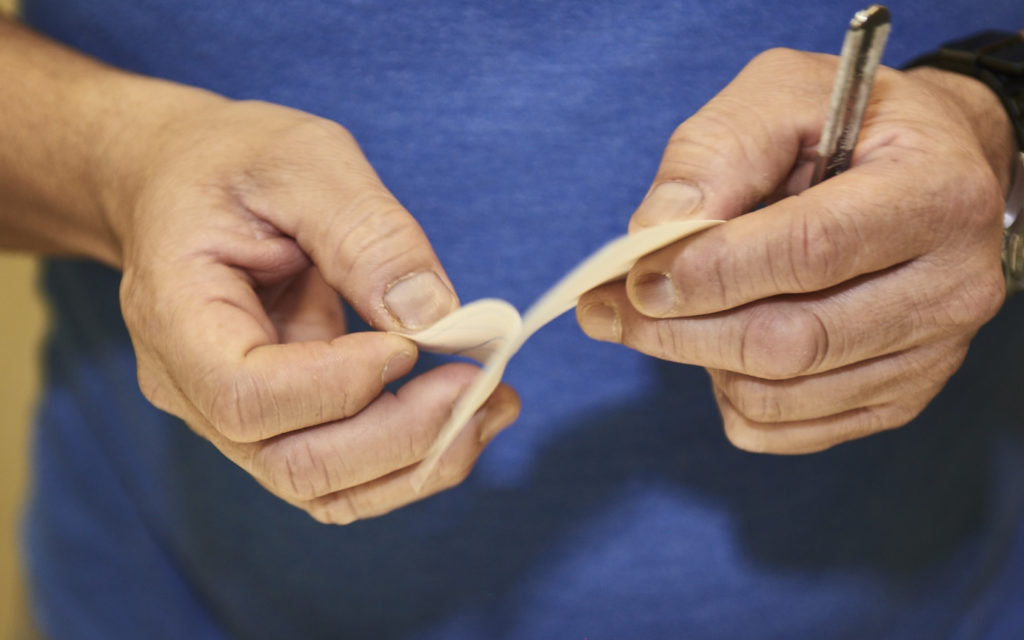
- Remove the label from the backing liner (label carrier) being extra careful not to touch or contaminate the adhesive layer. Any contamination of the adhesive layer will prevent the adhesive from giving 100% effectiveness.
- Make sure that the surface you are applying the label to is dry and allow the label to reach room temperature before using firm and even pressure to press on the label. If the label is thinner than 100 micron (004″) use extra pressure as required to achieve the desired results. If you are using a roller to apply the label it is recommended to use a soft to medium roller to optimise an even pressure.
- Once the label is applied, leave the adhesive to cure. For peak performance the label adhesive should be allowed to cure for up to 72 hours.
For best results it is recommended that the above steps should be taken, as well as conducting a separate test to establish which adhesive may be most suited for surfaces that have an uneven or irregular surface shape of finish.
Please remember that this help sheet is an “aid to assist you” and not a complete technical guide on the whole procedure for applying labels to a product surface. If you require further technical assistance on label application or advice on the best label for your particular requirement please get in touch.
Let's discuss your project.
Whether you have a full brief or just an idea, we'd love to share our expertise with you.
Contact us“A quick note to let you know we are over the moon with the type, it’s shifted everything to the next level.”
“This looks amazing! Such a great job – thank you so much to you and your team, and thank you for the fantastic photos!”
“Just wanted to say a very big thank you for the aluminium control plates – they look great! We will fit them on Monday so they are ready for the show...”
“Plaques arrived yesterday – thank you so much for getting them printed and delivered within time!”
